Filtering analyzee data
Filtering data in analyzee allows you to refine your analysis and focus on specific criteria, such as time periods, user segments, or device types. By customizing your view, you can extract actionable insights and identify trends that are relevant to your analysis objectives.
How to Filter Data
To filter data in analyzee, follow these steps:
- Sign In: Open the analyzee Dashboard and sign in to your account.
- Navigate to the Service: Access the service you wish to filter data for by selecting it from the sidebar menu.
- Find the Filters: Look for the filter options within the service interface. Filters are usually located in the top left corner.
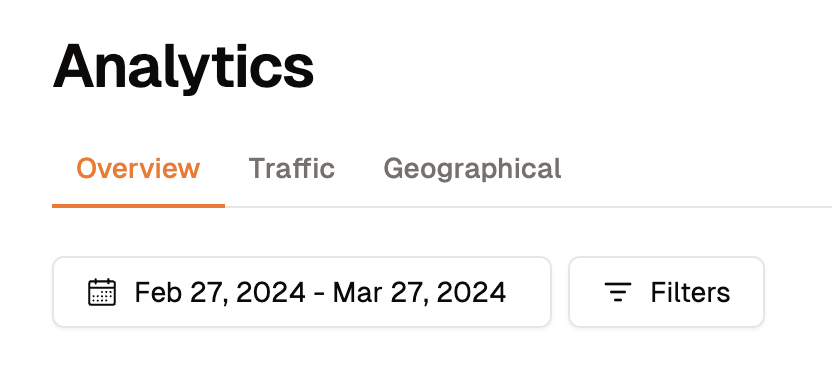 | 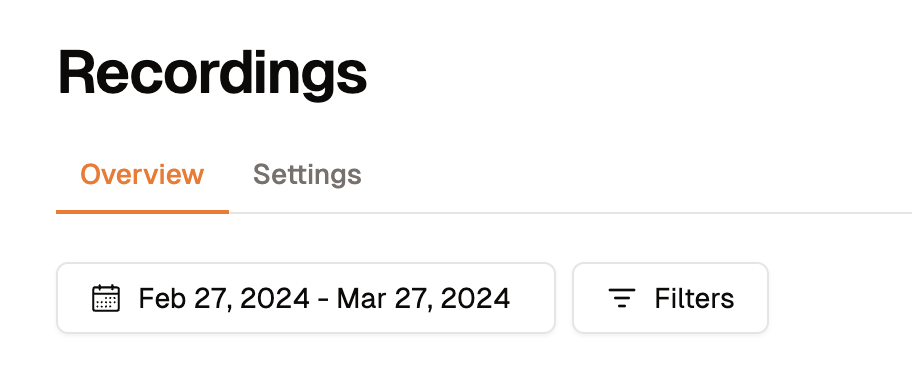 |
|---|---|
| Filters within Analytics | Filters within Recordings |
Set Criteria: Define the criteria you want to filter by. For example, you can select a specific time period or device type.
Apply Filters: Filters are applied automatically once you select the criteria. You will see the data update based on the applied filters.
infoThe filters you set will be applied to all compatible services within analyzee. For example, if you filter data by a specific time period in the Analytics service, the same filter will be applied to the Recordings service.
View Filtered Data: Your data will now display based on the applied filters, allowing you to analyze specific segments of your data.
The filters you see may vary depending on the service you are using. For more information on specific filters, refer to the service documentation.
Once you apply a general filter, it will be shown next to the filter options.

An example of an applied filter
From here you can easily remove the filter by clicking the "x" icon next to it.
By clicking on the filter, you can also adjust the criteria.

Editing an applied filter