Saving Filters For Future Use
Saving filters in Analyzee allows you to save your current filter settings for future use. By saving filters, you can quickly apply the same filter settings to your data without having to reconfigure them each time you access the service.
How to Save Filters
To save filters in Analyzee, follow these steps:
- Sign In: Open the Analyzee Dashboard and sign in to your account.
- Navigate to the Service: Access the service you wish to filter data for by selecting it from the sidebar menu.
- Find the Filters: Look for the filter options within the service interface. Filters are usually located in the top left corner.
- Set Criteria: Define the criteria you want to filter by. For example, you can select a specific time period or device type.
- Apply Filters: Filters are applied automatically once you select the criteria. You will see the data update based on the applied filters.
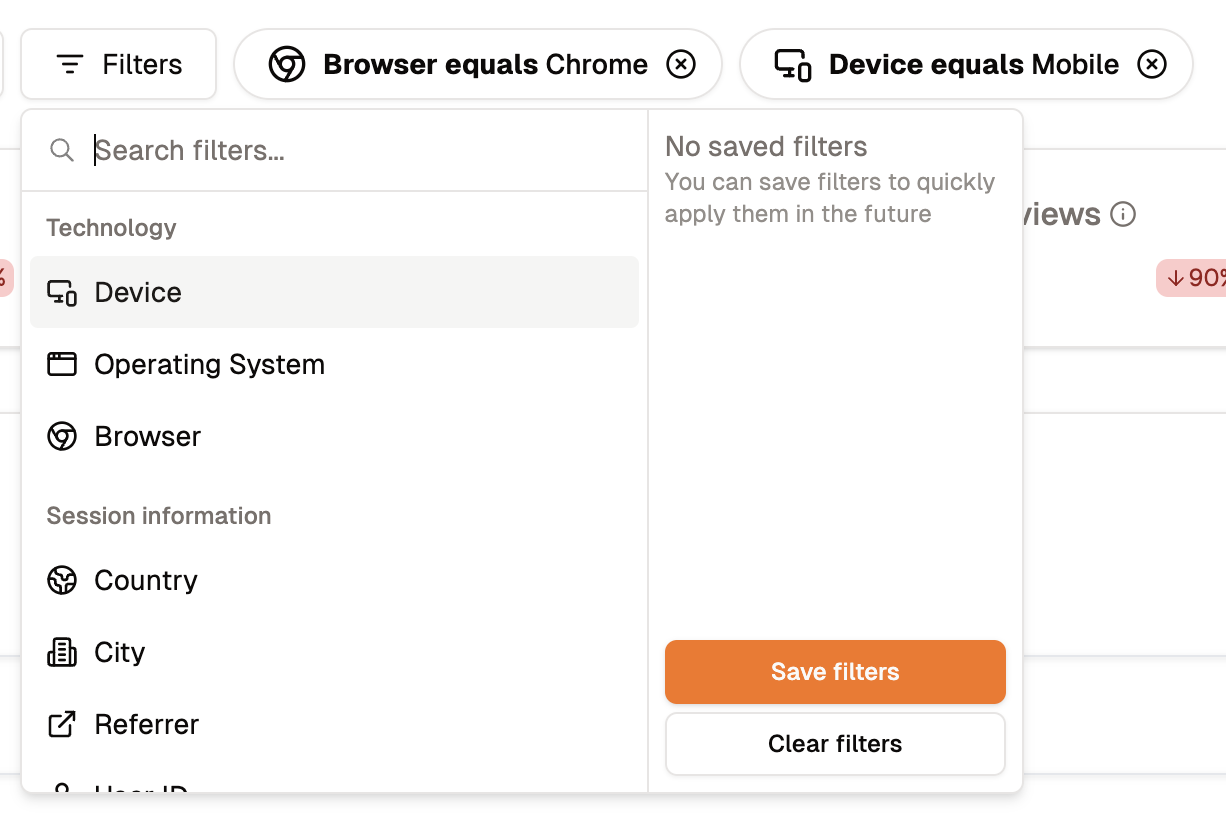
 The filters we want to save
- Save Filters: To save your current filter settings, click on the "Save filters" button located near the filter options.

Save filters button
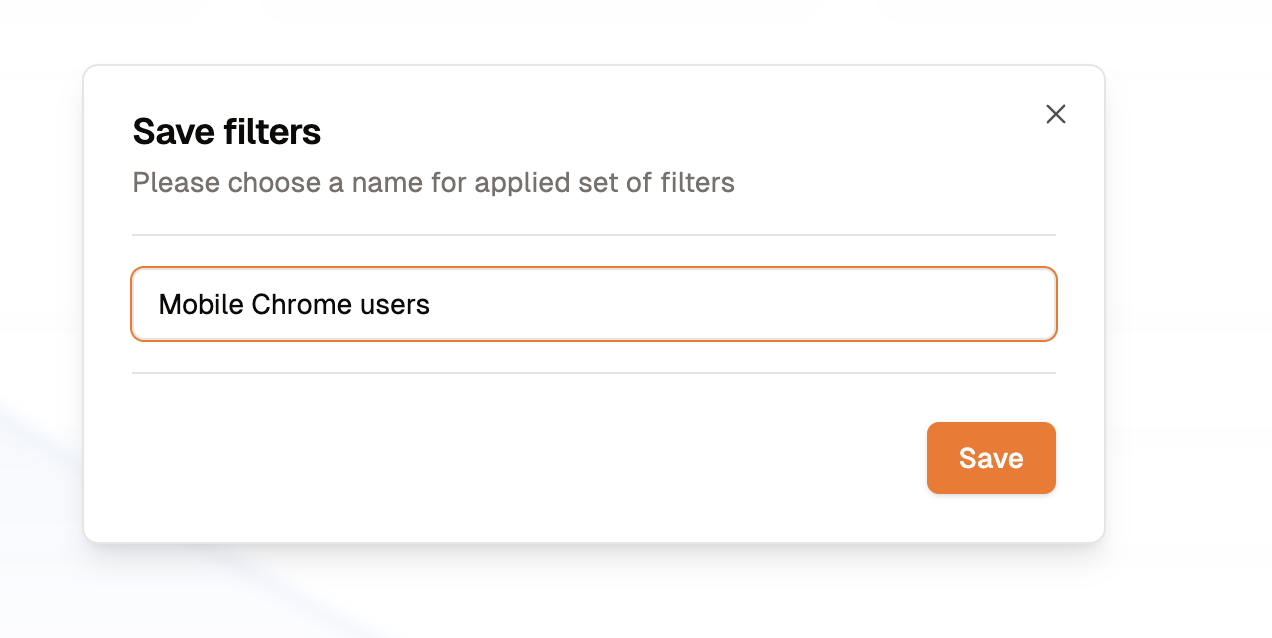
- Name Your Filter: Enter a name for your filter to help you identify it in the future.
- Save Filter: Click the "Save" button to save your filter settings for future use.

Name your filter
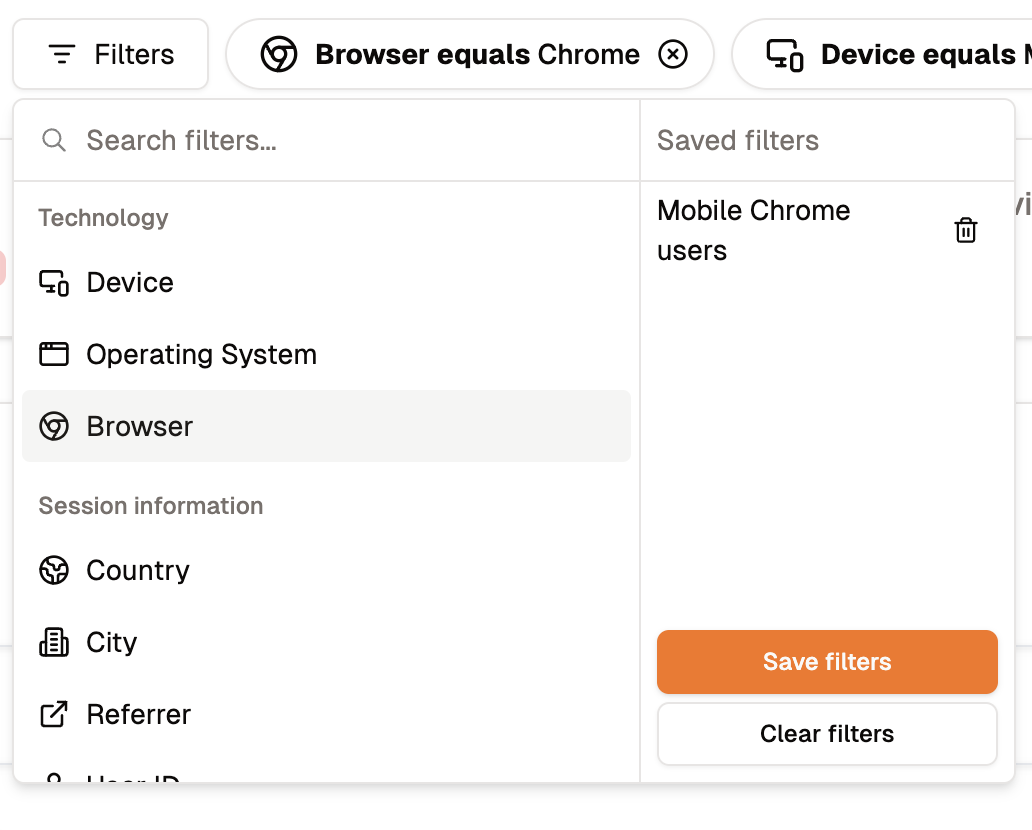
- Access Saved Filters: To access your saved filters, click on the "Saved Filters" button located near the filter options.

- Apply Saved Filters: Select the saved filter you wish to apply from the list. The filter settings will be automatically applied to your data.
- Delete Saved Filters: To delete a saved filter, click on the trash icon next to the filter name.